UPDATE: AS OF SEPTEMBER 2019 FACEBOOK AND INSTAGRAM HAVE CHANGED SOME OF THEIR FEATURES AND THIS GUIDE IS OUTDATED. Feel free to try the steps and see if it’ll work for you, but beyond that I cannot help. Sorry!
My wife runs an e-commerce website for artwork. Her main customer base is on social media so she needs her store to connect to social media platforms in order to optimize all her sales channels. Her e-commerce store is based on a Shopify backend. We chose Shopify over alternatives like woo-commerce because it was easier to start up and the support they offer is parallel to none.
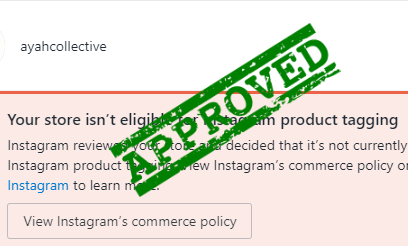
Facebook was by far the easiest connection, within a matter of seconds, we got the artwork for sale on the Ayah Collective facebook page without any issues. However, Instagram product tagging has become a headache that we could not solve. Until now.
I have spent over a month trying to configure my Shopify store to allow me to tag products in Instagram. The Shopify gurus kept telling me that they could not do anything, and the problem was on Instagram’s end (which is true). Unfortunately, Instagram has virtually no customer support and you are sent to a loop of “help” threads which don’t solve anything. Below is the step by step guide to how I got my Shopify store to be approved for Instagram tagging even after multiple rejections via the Instagram sales channel on Shopify.
Step 1: Delete and disconnect your Facebook and Instagram sales channels on Shopify. Yes, you heard me correctly, both of them. The Facebook sales channels works perfectly and even creates a Facebook shop instantly, but it makes Shopify the owner of your product catalog. According to Instagram, your page needs to be the owner of your catalog. The next steps will be to manually create a catalog and connect it to Instagram.
Step 2: Create a Facebook Business Manager account. Since Facebook owns Instagram, they are really pushing to have all their platforms integrated. Go to https://business.facebook.com/ and create an account for your page. Enter your business name and business email to create your account. Note: If you already have a personal ad account, you will have to create a separate business account to have access to product catalogs
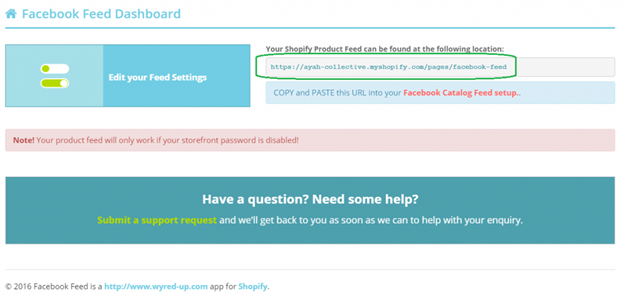
Step 3: Install a free Shopify app to create a product feed for Facebook. We use the “Facebook Feed – Product Feeds Made Easy” app. Once set up, you should have a feed for your products that gets updated whenever you sell/add a new product.
Step 4: Set up a product catalog on Facebook. From the menu on the top, click Catalogs
- Go to Catalog Manager.
- Click Create catalog.
- Select E-commerce as your catalog type.
- Use the dropdown menu to assign an owner to the catalog. Choose your business account as the owner.
- Enter a name for the catalog.
- Click Create. This creates an empty catalog.
- Click View catalog to go to the Diagnostics page.
- Click Add Products.
- Click Use Data Feeds
- Click Set a Schedule. I think daily is fine if you’re not a high frequency seller.
- In the Add a Data Feed URL section, put in the feed generated from Step 3.
- Click Start Upload
If done correctly, you should see your business account as the owner of this catalog.
- Step 5: Connecting all your accounts. Go to your business settings:
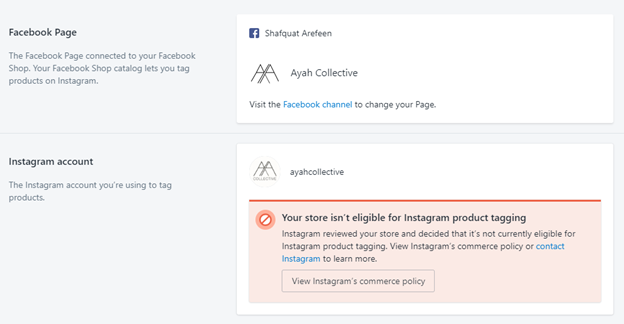
- Make sure your Facebook Page is connected under Accounts > Pages
- Make sure your Instagram account is connected under Accounts > Instagram Accounts
- Make sure your Product Catalog is connected under Data Sources > Catalogs
You should now be able to create a Facebook Shop on your Facebook page and use the product catalog to fill the shop. You need to have a Facebook Shop enabled in order to get Instagram product tagging to work. If you cannot see your product catalog in your Facebook Shop, delete all catalogs, and enable the shop in your Facebook Page. That will automatically create a product catalog with 0 products in it. Then connect your feed to the Facebook-generated product catalog using the instructions in Step 4.
- Step 6: Go to your Facebook Page settings and unlink your Instagram
- Step 7: Convert your Instagram to a personal account
- Step 8: Go to your Facebook Page settings > Page Info and make the Category in Shopping & Retail (only this, nothing else)
- Step 9: Via the Facebook Page settings, re-link the Instagram account and follow the prompts to convert your Instagram into a business profile. Also, make sure your aren’t restricting people by age of country on your Facebook page.
- Step 10: On your Instagram app settings, link the Facebook page
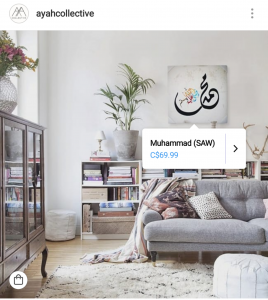
Wait 24-72 hours and you should get a notification from Instagram that your product tagging has been approved.
Best of luck!
FAQs
Do I need to reconnect the Facebook/Instagram sales channels?
No. The way your shop is connected to Facebook and Instagram is through the product feed. There is no need to use the sales channels.
How do I connect a feed to a product catalog?
You should see an option to set a schedule. Click that and then put in your feed. The frequency of your schedule so depend on how often you sell products as it’ll help remove sold out products from tags and add new ones when they are available.
Do I need to put in billing information into Facebook to create a shop?
No, you do not. You can choose to check out on your website as an option.
HELP! I have a Facebook shop, but it doesn’t have any products in it.
If you’ve successfully created a Facebook shop, then Facebook will have automatically created a product catalog for you with 0 products in it. Connect your feed to this catalog and delete all others.
Thanks so much! I was able to get product tagging by using this guide.
That’s great to hear! Could I ask that you mark my comment as helpful on the instagram shopify app page? It should be the top comment if you Sort by Helpful (Ayah Collective). This way, more people will be able to enable product tagging on their Instagram account!